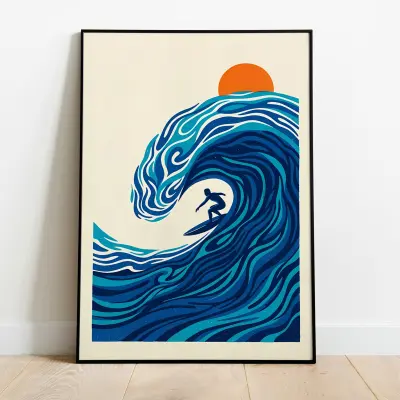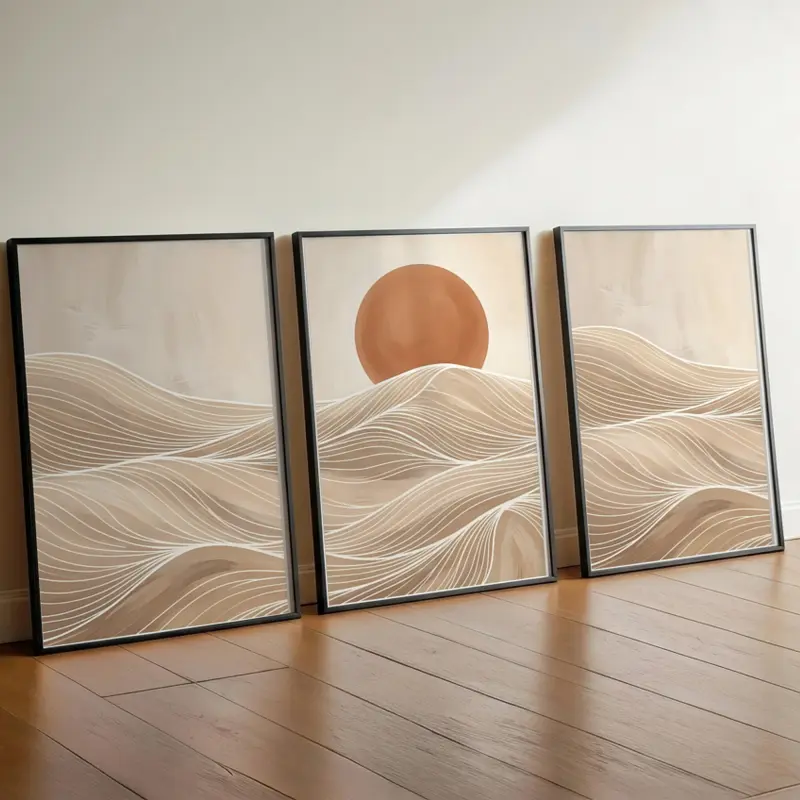
Choosing a new poster is the easy part – then you're standing in front of the wall wondering: do I really have to drill? Especially when renting, on tiles or if you like to rearrange often, the good news is: no. Here are seven ways to get posters and frames onto your wall without a drill – and when each one makes sense.
First: weight and wall surface matter
Before you pick a method, answer two questions:
- How heavy is the picture? An unframed poster weighs almost nothing; a large frame with glass can quickly weigh several kilos. Acrylic glazing is much lighter than real glass.
- What's the wall like? Smooth painted walls and tiles are ideal for adhesive solutions. Textured wallpaper, freshly painted walls or old wallpaper hold adhesive less well – and may lose paint or paper when you remove it.
For every adhesive product, check the manufacturer's weight rating and leave a generous margin.
1. Removable double-sided adhesive strips
Removable picture-hanging strips, available from several brands, are the classic. Stick them to the back of the frame and press it onto the wall. To remove, slowly pull the tab parallel to the wall – ideally without leaving any residue.
Best for: light to medium frames, smooth walls, rentals.
Tip: clean the wall with a little rubbing alcohol first and press the strips firmly for 30 seconds.
2. Adhesive hooks and adhesive nails
Adhesive nails look like a regular nail but hold with an adhesive pad. The advantage: you hang the frame by its hanger as usual and can easily straighten it later. There are special versions for tiles.
Best for: framed pictures with a hanger, tiled bathrooms and kitchens.
3. Poster hangers
Wooden or aluminium poster hangers clamp or attach magnetically to the top and bottom of the poster. The top rail has a cord that you hang on an adhesive hook. It looks modern and Scandinavian – and you don't need a frame.
Best for: unframed posters, a relaxed, homely look, motifs from our botanical or black and white categories.
4. Washi tape or poster strips
For unframed posters, decorative washi tape on the corners or special residue-free poster strips are the fastest solution. Washi tape is deliberately visible and becomes part of the decor.
Best for: kids’ rooms, teen rooms, desk corners and anything you like to swap often. Not suitable for frames.
5. Lean instead of hang
The simplest method of all: stand the frame on a sideboard, chest of drawers, shelf or even the floor and lean it against the wall. Several pictures in different sizes, slightly overlapping, look relaxed and intentional – and you can redecorate any time.
Best for: large formats in the living room, window sills, above the bed in the bedroom.
6. Picture ledge with few fixing points
A picture ledge isn't completely drill-free: it's usually fixed with two or three screws – some models with mounting adhesive. After that, you can place and swap as many pictures as you like without ever drilling again. If you're planning a gallery wall that changes often, this saves a lot of holes in the long run.
7. Tension and rail systems
Telescopic poles between floor and ceiling or gallery rails with cords are the professional solution for period homes and exhibition walls. They take more effort but are especially flexible.
Which method suits which poster?
- Small, unframed poster: poster strips, washi tape or a poster hanger.
- Medium frame (e.g. 30 × 45 or 40 × 60 cm): removable adhesive strips or adhesive nails.
- Large frame with glass (e.g. 60 × 90 cm): lean it or use a picture ledge – be especially careful with adhesive here.
- Changing motifs: picture ledge or a swap frame on adhesive hooks.
Which size suits your wall is explained in our guide „Poster Sizes Explained: Which Size Is Right for Your Wall?“. And if you want to hang several pictures at once: „How to Plan a Gallery Wall in 6 Steps“.
Our tip
Many of our posters are also available ready-framed in black, white, light wood or dark wood – then all you need to sort out is the hanging. Browse, for example, our living room, bedroom or poster sets categories.